Ever wondered if a gluten free chocolate cake recipe could truly satisfy your sweet tooth? Imagine cutting into a decadent chocolate cake that’s so rich, moist, and irresistible. No one would guess it’s gluten-free. This gluten-free chocolate cake recipe is about to change everything you thought you knew about alternative baking.
Baking can be intimidating, especially when navigating the world of gluten-free recipes. But with the right ingredients and techniques, you’ll create a chocolate cake that’s not just a compromise. It’s a celebration of flavor and texture. Whether you’re managing celiac disease, gluten sensitivity, or simply exploring healthier baking options, this gluten-free chocolate cake recipe will become your new go-to dessert.
Table of Contents
Key Takeaways
- Discover a foolproof gluten-free chocolate cake recipe
- Learn essential techniques for moist, delicious gluten-free baking
- Understand the importance of ingredient selection
- Create a cake that everyone will love, regardless of dietary restrictions
- Gain confidence in gluten-free baking methods
Introduction to Gluten-Free Baking
Gluten-free baking can be tricky, especially when making treats like flourless chocolate cake. Learning the basics of gluten-free cooking opens up a world of allergy-friendly sweets for home bakers.
Understanding Gluten and Its Alternatives
Gluten is a protein in wheat, barley, and rye that makes baked goods have structure and texture. For those with celiac disease or gluten sensitivity, eating gluten can be very harmful.
- Rice flour gives gluten-free baked goods a light texture
- Almond flour adds moisture and a nutty taste
- Gluten-free all-purpose blends are versatile
- Coconut flour is great for dense, rich desserts
Benefits of Gluten-Free Diets
Following a gluten-free diet is not just a trend; it’s essential for many. By trying different flours, you can make delectable allergy-friendly sweets that everyone can enjoy.
A flourless chocolate cake shows how new baking methods can make delicious desserts without wheat flour. Whether you need to avoid gluten or just want to try something new, gluten-free baking is full of exciting possibilities.
Ingredients for Your Gluten-Free Chocolate Cake
Starting with the right ingredients is key to making great dairy-free desserts. Your vegan chocolate cake needs the right mix to be moist and delicious. Let’s explore the essential parts that make your baking a success.
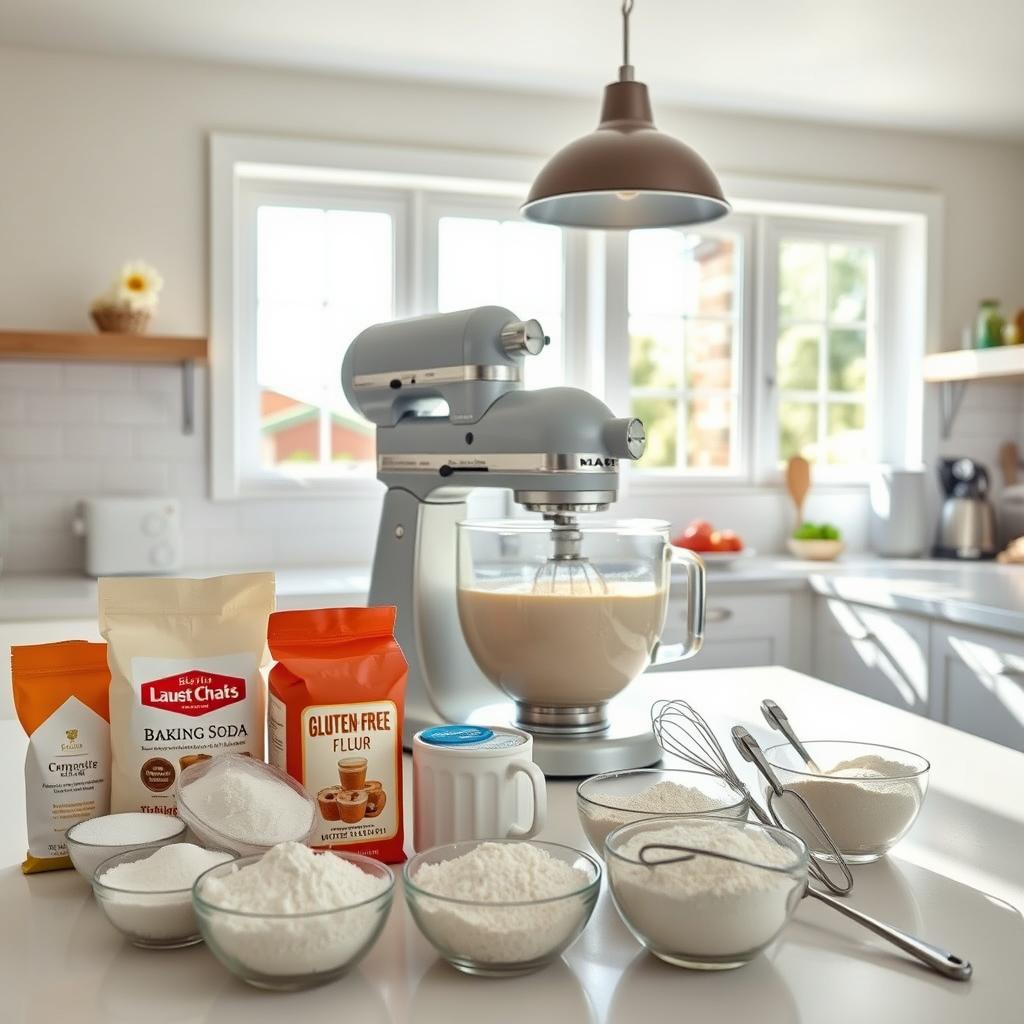
- 2 cups (292 g) all-purpose gluten-free flour blend
- ¾ cup (75 g) unsweetened cocoa powder
- 2 cups (400 g) granulated sugar
- 2 teaspoons baking powder
- 1½ teaspoons baking soda
- 1 teaspoon salt
Essential Baking Ingredients
The wet ingredients are vital for a rich, tender cake. You’ll need:
- 1 cup (245 g) non-dairy milk
- ½ cup (107 g) vegetable oil
- 2 large eggs (or egg substitute for vegan option)
- 2 teaspoons vanilla extract
- 1 cup (240 g) boiling water
Optional Add-ins for Extra Flavor
Add these exciting ingredients to boost your dairy-free desserts:
- Chocolate chips for extra decadence
- Chopped nuts for texture
- Espresso powder to enhance chocolate flavor
- Shredded coconut for a tropical twist
Pro tip: For a vegan chocolate cake, use flax eggs or applesauce instead of eggs. This keeps the cake moist and holds it together. Each ingredient is important for a tasty gluten-free treat that everyone can enjoy.
Preparing Your Kitchen for Baking
To make perfect desserts, start with a clean kitchen. Nut-free baking needs a well-organized space. This way, your gluten-free chocolate cake will always be a hit.

Baking needs precision and cleanliness, especially for those with dietary restrictions. Your goal is to make a safe space for gluten-free treats.
Essential Baking Tools for Success
- Dedicated gluten-free mixing bowls
- Separate cutting boards
- Clean measuring cups and spoons
- Parchment paper
- Silicone spatulas
- Digital kitchen scale
Creating a Clean Work Environment
Setting up a gluten-free kitchen is key. Thoroughly clean all surfaces before you start. Here are some important steps:
- Wash all utensils and surfaces with hot, soapy water
- Use separate cutting boards for gluten-free ingredients
- Clean countertops with dedicated gluten-free cleaning supplies
- Store gluten-free ingredients separately from other baking items
| Cleaning Step | Purpose | Frequency |
|---|---|---|
| Countertop Sanitization | Prevent Cross-Contamination | Before Baking |
| Tool Separation | Avoid Gluten Exposure | Always |
| Ingredient Storage | Maintain Purity | Continuous |
By following these steps, you’ll have a safe space for gluten-free desserts. Your careful preparation makes baking fun for everyone, especially those with dietary needs.
Mixing Dry Ingredients
Gluten-free baking needs precision and care, especially for decadent chocolate treats. The secret to a perfect gluten-free chocolate cake is in the dry ingredients. Make sure to measure and mix them carefully.
Choosing the Right Gluten-Free Flour
Finding the right gluten-free flour blend is key for your chocolate cake. Use 2 cups (292 g) of a top-notch all-purpose gluten-free flour blend. Not all gluten-free flours are the same. Look for blends with:
- Rice flour
- Potato starch
- Tapioca flour
- Xanthan gum
The Importance of Baking Powder and Soda
In gluten-free baking, leavening agents are vital for a light and fluffy texture. For your decadent chocolate treats, measure carefully:
| Ingredient | Measurement | Purpose |
|---|---|---|
| Baking Powder | 2 teaspoons | Helps cake rise and creates soft texture |
| Baking Soda | 1½ teaspoons | Neutralizes acidic ingredients |
| Salt | 1 teaspoon | Enhances overall flavor |
Pro tip: Always sift your dry ingredients together. This ensures even distribution and prevents lumps. It’s crucial in gluten-free baking for a smooth batter.
Mixing Wet Ingredients
Creating delicious treats starts with mixing wet ingredients right. Your gluten-free chocolate cake needs a smooth, rich batter. This batter is key for tasty easy dessert recipes.
When mixing wet ingredients, temperature and technique are crucial. Start by gathering all ingredients at room temperature. This ensures they mix well together.
Selecting the Best Cocoa Powder
Choosing the right cocoa powder makes a big difference. For the best chocolate taste, pick Dutch-processed cocoa powder. It gives a deeper, richer flavor.
- Use ¾ cup (75 g) of high-quality unsweetened cocoa powder
- Select Dutch-processed cocoa for enhanced flavor
- Ensure cocoa powder is fresh and fragrant
Techniques for Mixing Wet Ingredients
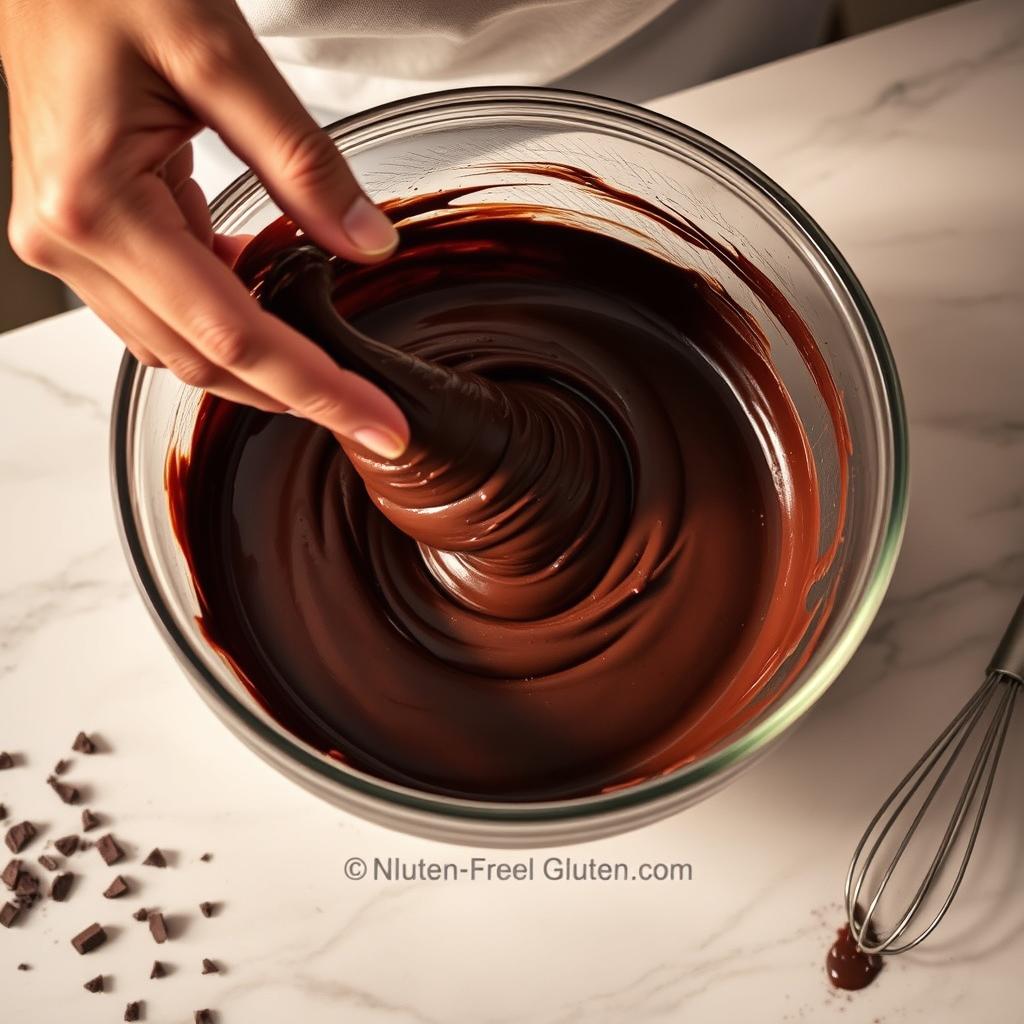
Proper mixing is key to avoid lumps and ensure a smooth texture. Here are some techniques to master:
- Whisk eggs and sugar for 3 minutes until frothy
- Gradually add milk and oil
- Add vanilla extract for depth of flavor
| Ingredient | Quantity | Purpose |
|---|---|---|
| Eggs | 2 large | Binding and moisture |
| Milk | 1 cup | Moisture and richness |
| Oil | ½ cup | Tenderness and texture |
| Vanilla Extract | 2 teaspoons | Flavor enhancement |
Pro tip: Always mix wet ingredients until just combined. Overmixing can make the cake dense.
Combining Dry and Wet Ingredients
Making the perfect gluten free chocolate cake recipe needs precision and care. How you mix dry and wet ingredients is key to your allergy-friendly sweets.

Getting the batter just right is essential for a moist and tasty gluten-free chocolate cake. Your mixing technique will affect the cake’s texture and success.
Tips for Perfect Consistency
- Sift your gluten-free flour blend to remove any lumps
- Measure ingredients precisely using a kitchen scale
- Mix dry ingredients thoroughly before adding wet components
- Fold ingredients gently to prevent overmixing
Common Mistakes to Avoid
Overmixing is a big mistake in making your gluten free chocolate cake recipe. Stirring too hard can make gluten-free flour act like gluten, leading to a dense, tough cake.
- Mix ingredients until just combined
- Stop mixing when no dry flour streaks remain
- Use a spatula for gentle folding
- Avoid aggressive whisking or beating
Your aim is a smooth, unified batter that keeps air bubbles for a light, fluffy texture. By following these tips, you’ll make delicious allergy-friendly sweets that everyone can enjoy.
Baking the Cake
Mastering gluten-free baking needs precision and detail. Your decadent chocolate treats depend on the baking process. Understanding your oven and following temperature guidelines are key to a perfect gluten-free chocolate cake.
Preheating Your Oven Correctly
For gluten-free baking, set your oven to 350°F (180°C). Preheating is key for even baking and cake rising. Allow 15-20 minutes for preheating to get that perfect texture in your treats.
Determining the Right Baking Time
Baking time varies, but your gluten-free chocolate cake usually needs 35-38 minutes. Here are some tips for perfect results:
- Check cake doneness with a toothpick inserted in the center
- Look for a slightly springy surface when touched
- Edges should pull slightly away from the pan
| Cake Type | Baking Time | Temperature |
|---|---|---|
| Round Cake Pans | 35-38 minutes | 350°F |
| Sheet Cake | 45-50 minutes | 350°F |
Pro tip for gluten-free baking: Gluten-free cakes are more forgiving with baking time. If your toothpick comes out with a few moist crumbs, it’s usually perfect!
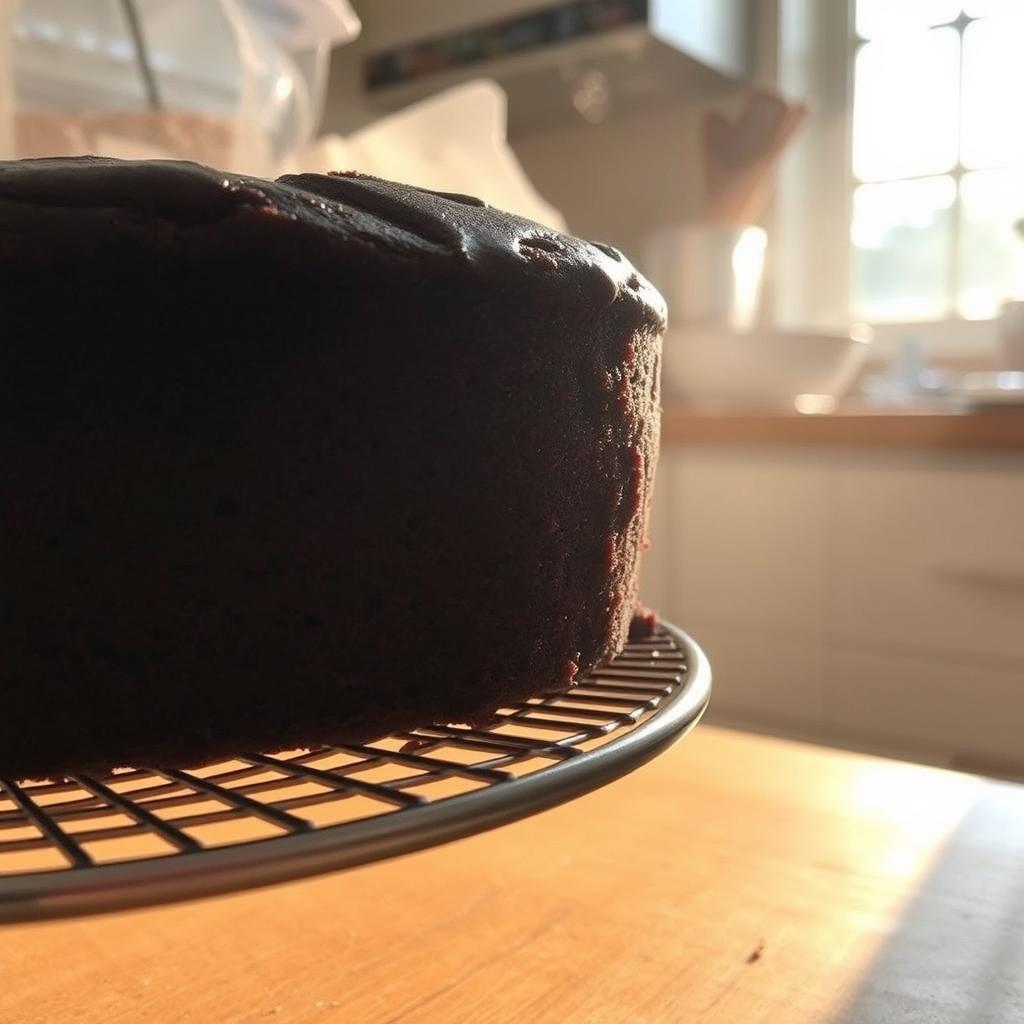
After baking, let your cake cool in the pan for 5-10 minutes before transferring to a wire rack. This helps prevent breaking and ensures a beautiful, intact dessert ready to be enjoyed.
Testing for Doneness
Making the perfect gluten-free chocolate cake is all about knowing when it’s done. Your desserts should be flawless, and knowing the exact moment can make a big difference. It ensures your treats are not only healthy but also a joy to eat.
There are several ways to check if your cake is ready. These methods help you achieve a moist and tasty result. Here are the top techniques:
- Toothpick Test: Insert a clean toothpick into the cake’s center
- Visual Inspection: Look for specific surface characteristics
- Bounce-Back Method: Gently press the cake’s surface
How to Check if Your Cake is Ready
The toothpick test is the most reliable way to check if your cake is done. When you stick a toothpick into the cake’s middle, it should come out with a few moist crumbs. If it’s clean, the cake might be overcooked. A wet toothpick means it needs more time in the oven.
Signs of Overbaking
It’s important to spot overbaking to keep your cake moist and soft. Look out for these signs:
| Overbaking Indicator | Visual Cue |
|---|---|
| Dry Edges | Crisp, hard cake borders |
| Cracked Surface | Significant surface splitting |
| Dark Brown Color | Overly darkened cake surface |
By watching your gluten-free chocolate cake closely, you’ll make a dessert that’s both tasty and perfectly baked. Remember, the more you practice, the better you’ll get at making easy desserts!
Cooling Your Cake
After baking your gluten-free chocolate cake, cooling it right is key. It ensures your cake turns out moist and perfect. The cooling process is crucial for your nut-free baking success.

Knowing how to cool your cake is important. It keeps your cake moist and prevents it from falling apart. Here are some tips for cooling your gluten-free chocolate cake:
Cooling Time Fundamentals
First, let your cake rest in the pan. For this gluten-free chocolate cake recipe, follow these guidelines:
- Allow the cake to cool in the pan for 10 minutes
- Use a timer to prevent over-cooling or premature removal
- Keep the cake in a draft-free area
Safe Cake Removal Techniques
Removing your cake from the pan needs care. Use these professional nut-free baking techniques:
- Run a knife around the pan’s edges to loosen the cake
- Place a wire rack on top of the cake pan
- Carefully flip the pan to transfer the cake
- Let the cake cool completely on the wire rack
Pro tip: If your cake seems stuck, place a warm, damp kitchen towel on the bottom of the pan for 1-2 minutes to help release it smoothly.
Remember, patience is key in gluten-free baking. Rushing the cooling process can lead to a broken or dry cake. Allow your masterpiece to cool completely before frosting or serving.
Frosting Ideas for Your Chocolate Cake
Creating the perfect frosting can turn your dairy-free desserts into stunning treats. Your vegan chocolate cake needs a topping that matches its rich chocolate taste and fits your diet.
When making frosting for gluten-free cakes, choose options that taste great and fit different diets. You can easily change traditional frostings to meet various dietary needs.
Classic Gluten-Free Chocolate Frosting
The classic chocolate frosting recipe includes:
- 4 ½ cups (450g) powdered sugar
- ½ cup (115g) dairy-free butter
- ½ cup unsweetened cocoa powder
- 4-5 tablespoons non-dairy milk
- 2 teaspoons vanilla extract
Alternative Frosting Options
Looking for something different in your dairy-free desserts? Try these exciting frosting alternatives:
- Coconut Cream Frosting: Whip chilled coconut cream with powdered sugar
- Avocado Chocolate Frosting: Blend ripe avocados with cocoa powder and sweetener
- Cashew Cream Frosting: Blend soaked cashews for a creamy vegan chocolate cake topping
Try out these frostings to find your favorite. Each one brings unique flavors and textures that can make your gluten-free chocolate cake truly special.
Serving and Storing Your Cake
After making your flourless chocolate cake, it’s important to serve and store it right. This keeps the cake moist and flavorful. Every slice should be as good as the first.
Cutting and Serving Techniques
Here are some tips for serving your gluten-free chocolate cake:
- Use a sharp, clean knife for precise cuts
- Wipe the knife between slices for clean edges
- Let the cake cool completely before cutting
- Cut pieces approximately 2-3 inches wide
Storing for Maximum Freshness
Storing your flourless chocolate cake right is key. Store it at room temperature for a short time. Refrigeration keeps it fresh longer.
- Room Temperature Storage: Keep in an airtight container for up to 3 days
- Refrigerator Storage: Maintains freshness for up to 1 week
- Freezing Option: Wrap unfrosted layers in plastic wrap and freeze for up to 3 months
Pro tip: Always cover your decadent chocolate treats. This prevents moisture loss and keeps the texture soft. When you’re ready to serve a frozen cake, thaw it at room temperature for the best taste.
Conclusion and Final Thoughts
Your journey into gluten-free baking has reached a sweet milestone. This chocolate cake recipe shows that allergy-friendly sweets can be both tasty and satisfying. By learning gluten-free baking, you’ve opened up a world of tasty possibilities for different diets.
Remember, practice makes perfect in gluten-free baking. Every time you bake this cake, you’ll get better at using different flours. The secret is to enjoy the process and try new ingredients that make you happy.
Your Baking Journey Continues
We encourage you to share your baking stories and results with our community. Whether you changed a few things or followed the recipe exactly, your feedback helps others. Share a photo of your chocolate cake, your tips, and connect with others who love making allergy-friendly sweets.
Spread the Sweet Love
Your choice to explore gluten-free baking helps those with dietary needs and brings new flavors to everyone’s kitchen. Keep trying new things, stay curious, and most importantly, enjoy every bite of your homemade chocolate cake!
FAQ
What makes this chocolate cake gluten-free?
Can I make this cake dairy-free as well?
How do I prevent my gluten-free cake from becoming dry?
What gluten-free flour blend works best for this recipe?
How can I ensure there’s no cross-contamination when baking gluten-free?
How long will this gluten-free chocolate cake stay fresh?
Can I add mix-ins to this gluten-free chocolate cake?
Is this recipe suitable for people with other dietary restrictions?
Looking for more delicious soup recipes? Check out these comforting options:
- Easy Hash Brown Potato Soup – A creamy and hearty classic.
- Lipton Onion Soup Meatloaf – A unique twist on a homestyle favorite.
- Mock Turtle Soup – A rich and flavorful dish worth trying.
